Penny Ward INK: Technique Tuesday

Showing posts with label Technique Tuesday. Show all posts

Words 2 Scrap By is Awesome


Awesomesauce....

Happy November!!!!

It is the first and that means I am over on the Words 2 Scrap By blog.

Come on over to see what the rest of the team has in store for you and participate in our themed challenge:


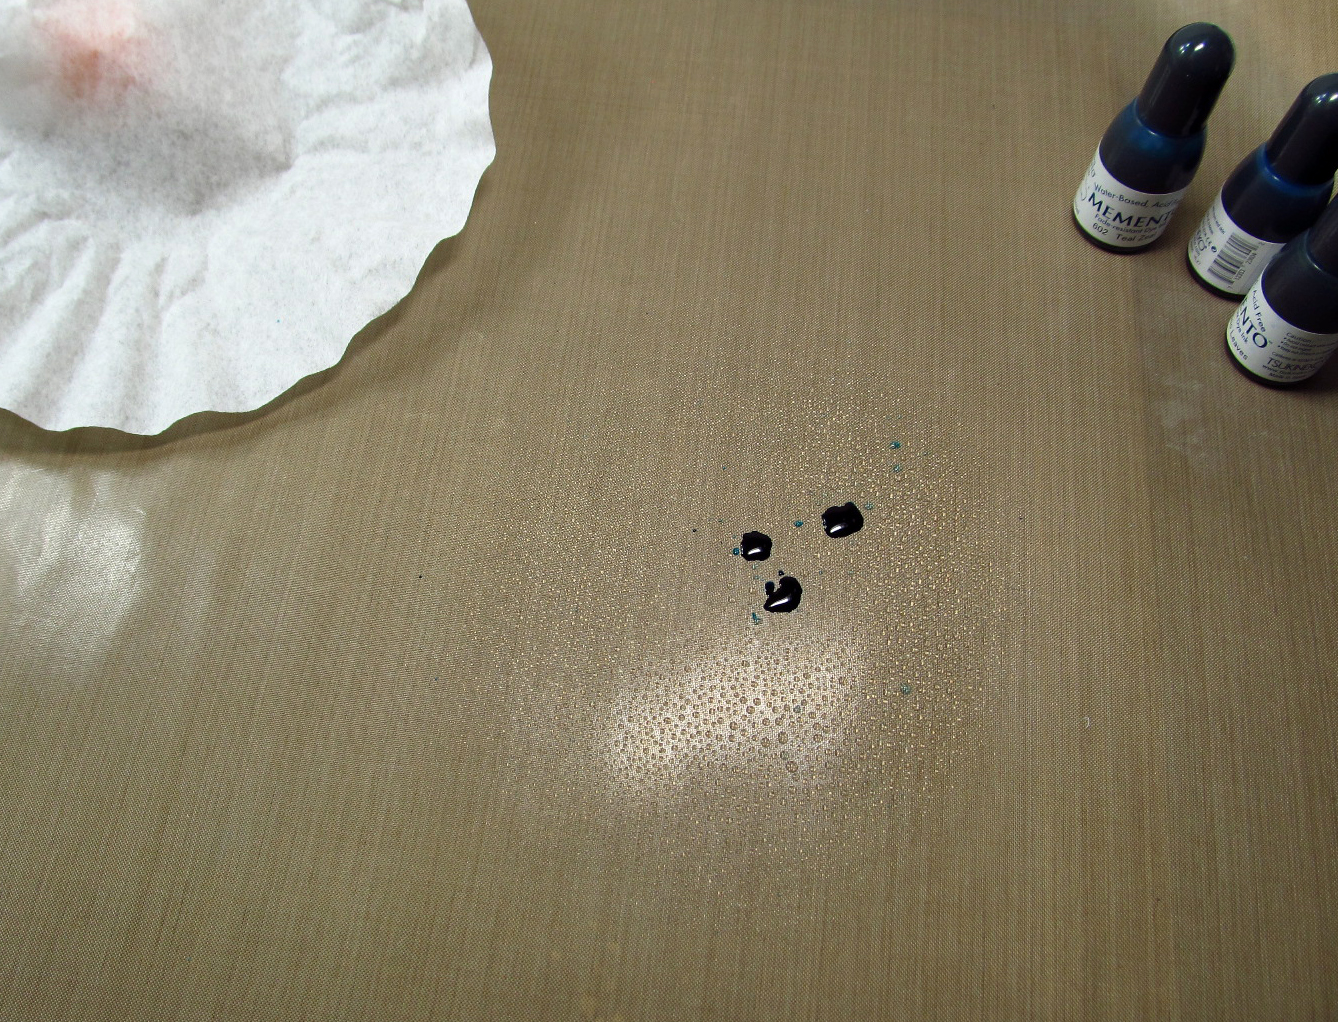
I am just loving my new toy...Craftwell eBrush.
It just makes stenciling so fun. You can purchase adapters for all sorts of markers, so you are not just limited to Copic or Spectrum Noir. 
On my next trip to Wally Mart I am looking for Metallic Sharpies....those should make really gorgeous Christmas cards.


Challenges Entered:
Simon Says Stamp Wednesday:  Anything Goes


Let's go Shopping:
Ellen Hutson:  Bokeh Dots stamp set
Technique Tuesday:  Awesome stamp set
Imagine Crafts/Tsukineko:  Memento Luxe inks; Sweet Plum, Morocco, Rhubarb Stalk, Olive Grove, Peanut Brittle, Toffee Crunch, Pistachio, Rich Cocoa, Espresso Truffle
Simon Says Stamp:  Falling Snow stencil
Spectrum Noir:  marker DR7
Craftwell:  eBrush
Embroidery Thread


Each Friday I will give a shout out to all new Followers (click on "Join This Site" Button on the right side) and if you have a blog, I will make a link to you also.
Thanks for stamping by, and an extra special {mwah} for leaving a comment and/or following my blog...
.Follow on Bloglovin
7

CardMaker & Poppy Stamps Blog Hop


Welcome to the CardMaker & Poppy Stamps Blog Hop.

I had so much fun playing with these dies. I use a Craftwell Ebosser and the Poppy Stamps dies went through with no problem. I only had to make one pass on the intricate Theo Butterfly die using 110lb card stock.
Woohoo!!!


I die cut the Puffy Cloud Border, then used it as a mask with Versa Magic Aspen Mist ink. I also inked the edges of the butterfly. Tiny white dots are made with irRESISTible Pico Embellisher in Wedding White.


The Maple Leaf Border die is perfect for all of your Fall cards and scrap pages. 


The card front was die cut and popped up with foam adhesive. The panel behind that was finished with Metal Gilding Flakes, as was the sentiment (Gorgeous shine!). Tiny twigs are just card stock that have been cut very close to the blade of my Fiskars ProCision cutter...how cute are they?!?

 I just had to make something else with the Leaf Border die:


I die cut the leaves and used the negative as a mask for Ferro Graphite Embossing paste (LOVE) to add dimension to this card. Left over leaves were adhered with foam adhesive.


Don't forget to comment on each stop along the way. There are prizes involved after all. 
If you find a broken link, you can always return to Cardmaker Magazine Blog for the complete hop list. 
Your next stop on the hop is:


Let's go Shopping:
Poppy Stamps:  Maple Leaf border, Puffy Cloud Border & Theo Butterfly dies
Imagine Crafts/Tsukineko:  Versafine Onyx Black ink, VersaMagic Aspen Mist ink, irRESISTible Pico embellisher - Wedding White, Watermark ink
Taylored Expressions:  Wherever you go stamp set
Reverse Confetti:  Forever Fall stamp set
Technique Tuesday:  Simply You stamp set
My Mind's Eye:  brad
May Arts:  Ribbon
Metal Gilding Flakes


Each Friday I will give a shout out to all new Followers (click on "Join This Site" Button on the right side) and if you have a blog, I will make a link to you also.

Thanks for stamping by, and an extra special {mwah} for leaving a comment and/or following my blog....

Follow on Bloglovin
73

Smile


Hey friends....

I am on the Imagine Crafts blog today with this bright and colorful card. New inks in the house....Radiant Neons you are absolutely going to LOVE.
Make sure to click on the banner below to get all the details as well as the supply list and tutorial.


Each Friday I will give a shout out to all new Followers (click on "Join This Site" Button on the right side) and if you have a blog, I will make a link to you also.

Thanks for stamping by, and an extra special {mwah} for leaving a comment and/or following my blog....

Follow on Bloglovin
1

OWH Coffee Filter Cards


Hello my friends...

I am so honored to be asked by Operation Write Home to do a tutorial about this wonderful technique. How about a unique background that adds no bulk to your cards? Do you have a coffee filter handy?

Let's get started....

You are going to need:

White card stock
Coffee Filter
Reinkers or Ink pads
Clear embossing powder
Watermark Ink
Stamps
Spray Adhesive (glue works too)
Spray Water Bottle
Paper Towels


You will definitely want to use a craft sheet on your work surface for this technique.


Stamp onto the coffee filter using Watermark ink and heat emboss with Clear powder. 


Put a couple of drops of ink on your craft sheet, spritz with water, then lay coffee filter over ink. 
(Do this with each color as desired) Let dry or use heat gun.
NOTE: I achieved more vibrant colors with the reinkers, but using an ink pad works also.

Cut white card stock to desired size (a coffee filter will cover an A2 card) and use spray adhesive.
Lay coffee filter on top and smooth any wrinkles. Trim.


Now finish card as desired.

Below, I have made a second card with a little variation in that I glued a dictionary page to the card stock, then attached the coffee filter on top...now the printing shows through:


Please feel free to ask any questions. Be sure to leave your email with the comment.

Let's go Shopping:
White & Black card stocks
Coffee Filter
Stamps: Tiger Lily, Trailing Beauty (Penny Black), Simply You (Technique Tuesday)
Inks: Watermark, Versafine Onyx Black, Memento Reinkers Teal Zeal, Rose Bud, Bamboo Leaves, Pear Tart (Imagine Crafts/Tsukineko)
Clear & White Embossing powders (Imagine Crafts/Tsukineko)
Old Paperback Dictionary
Spray Adhesive (3M)
Liquid Pearls: Black (Ranger)
Lava Soap to clean all the ink off your fingers :)


Each Friday I will give a shout out to all new Followers (click on Follower Button on the right side) and if you have a blog, I will make a link to you also.
Thanks for stamping by, and an extra special {mwah} for leaving a comment and/or following my blog....

Follow on Bloglovin
5

You make my World


Hello friends....Just another card for fun. How cute is this digi stamp from Sassy Cheryl?!? (Personally I love the dog...looks like my Snowy).
My favorite colors are Navy & Lime...could you tell?
As a side note...My Iphone cover is Navy & Lime and I just bought a Vera Bradley purse & wallet that is also that same color combo (drives my kids crazy...whoever heard of Lime as a favorite color?)


Colored with Copics, fussy cut bird and dog to pop onto card with foam adhesive.

Sentiment is Simply You by Technique Tuesday and that oh so fun dash line edge is a die by Lil Inkers called Mat Stitching.


Thanks for stamping by...


                                             Follow on Bloglovin
5

You are my reason why.


Hello friends....Are you ready for the weekend? Do you have crafty plans for the next few days?
I love making cards for our deployed soldiers and if you want to get in on this terrific organization, just go here to read all the do's and don'ts of their cardmaking requirements.
Today I am playing along with their Clean and Simple challenge.
This card is also entered in the Simon Says Stamp Anything goes Challenge.


Bright Pink card stock stamped and heat embossed. Ran my Scor-Bug around the edges and mounted to a Light Pink card stock. Liquid Pearls for flower centers (I always flatten my dollops of Liquid Pearls after they are dry...for some unknown reason, I just like that look).
This card was so quick to make, you could make a dozen of them in less than 30 minutes.

Thanks for stamping by today....

Let's go Shopping:
Light Pink & Bright Pink card stock (Michaels)
Stamp: Petal Party (Penny Black), Simply You (Technique Tuesday)
Scor-Bug (Scor-Pal)
White embossing Powder (Imagine Crafts)
Flamingo & White Opal Liquid Pearls (Ranger)


10